Tuesday, March 15, 2011

Don't Forget To Be Green :)

Here’s an interesting fact about me: My favorite holiday is St. Patrick’s Day.  I’m not even kidding!  I love Halloween, I enjoy Christmas, and I think Thanksgiving is great, but St. Patrick’s Day is the absolute best.  I don’t know what it is about dressing up in all green and teasing (most of) my friends who don’t wear green, but I look forward to it every year.  

One of my friends looked at me yesterday and said “I just realized St. Patrick’s Day is on a Thursday this year and I got really depressed.  You’re going all out again, aren’t you?” (To put that statement in context – we don’t see each other in class on Thursdays.)

And yes, yes I am going all out (again).  I’ve had this outfit planned for months now (because I’m sort of a dork like that).

But this wasn’t a huge tangent or anything.  This entire little explanation had a purpose.  St. Patty’s Day is in two days, and I’m helping you guys get in the cheer!  It’s a simple, little necklace to add green to your Thursday!

What you will need:
Wire (if you remember the fish bowl project, I used the same wire I used there.)
Small Green beads
Small Yellow bead s
Even smaller White beads
A necklace clasp
Two loops
A Shamrock Charm!!! (Also, another fun fact: My mom calls me Clover.  I have a huge attachment to Shamrocks/Clovers, etc.)
Needle Nose Pliers and Wire Cutters (or scissors if you don’t want to be fancy.)


Step 1: Loop a bit of the wire around your neck to determine the desired length.  Add a little bit of extra length (less than an inch) because you will probably trim/twist it down a little.  Clip the wire.  On one end, it doesn’t matter which, twist the wire into a loop (it should be somewhat small) and twist the end of it down a little, along the length of the rest of the wire.  Trim off the extra, and use the needle nose pliers to flatten the trimmed part, just a little so there aren’t any sharp edges.


Step 2: Use one of the loops.  Find the recess in it, and pull both ends of the loop sideways – you should not be pulling them apart by moving them back from each other!  One should be going left, the other right.  Slip the clasp onto this, and then move it onto the loop you made with the wire.  Using the needle nose pliers, press the two sides of the loop together.  


Tip: I tend to press the ends of the loop together so they overlap a little bit before I press the ends flat together.  That way, the way I see it, the clasp is less likely to slip off!


Step 3: Decide on the pattern you want.  You can lay it out before hand if you want, although for a necklace with beads this small I tend to not do that.  If it were a longer necklace, with a larger variety of beads, I would.  The pattern I chose was this: 9 Green – 2 Yellow – 9 White – 2 Yellow – 9 Green – Etc.


Keep slipping the beads onto the wire using this pattern (or whichever pattern you choose to use) until there’s about 3/4 of an inch left of the wire.  Just like the first step, you’re going to loop the wire and twist it around.  If you have an extra loop like the one you used with the clasp, you can put it on the wire-loop.  I didn’t, because since there’s already a loop on the wire now, you can just hook the clasp to that.


Step 4: With the last loop you have left (like the clasp-loop, not the wire-loops you’ve been making), use the pliers to open it up.  Hook your charm to it.  I added a little green bead behind the charm, just as a personal touch, but that’s all up to you.  Put the loop around any part of the necklace (I put it around the white beads since they’re smaller) and close it using the same technique you did for the clasp.  Try to leave it enough lee-way to move around a bit on your necklace; that way, even if the necklace twists behind you or something, the clover charm should still hang in the front!


Voila!  A little green necklace to keep you from being pinched by St. Patty-Day lovers like me ;) 

And just for fun, here’s a few other jewelry items I’ve made:


I’ll probably end up doing a tutorial on one of them at some point, so if you’re interested in any in particular, let me know!
-Bonnie (Clover)

Friday, March 11, 2011

It's Never Too Late!

Unless, of course, I post two days late.... Whoops! Sorry, guys, things have been pretty crazy over in Shelby-Land, work, stressing out over Doctor's appointment, trying not to kill my cats for throwing up on my blanket... Yikes. Anyways! I love home decor... Used to work for HomeGoods, in fact, so my obsession was usually handled with that paycheck... I used to say that money would just cycle through. No more! No more will I pay $15 for a little sign that goes on my front door. Never again! Here's a tutorial that will help you make a cheaper, better looking, more personalized sign!

What You Need:

  • Scrapbook Paper (I used 2 different colors)
  • Mod Podge
  • Paint (A base color, and a writing color)
  • A wooden sign
  • Paintbrush


This is everything I used! I, of course, had the Mod Podge on hand, as well as the paintbrush... The different paints and scrapbook paper were all 50 cents each, and the sign was $2, I wanna say? Don't quote me on that!


Begin painting, with your base color, the entire sign... Front to back, sides, everything. And yeah, look how fancy I am, using paper and whatnot!


Make sure you get the sides, too, especially if you're using a sign like this one... They do tend to move around, so you don't want anything wood-colored...


After the paint dries... Trust me, you don't wanna skip that step! Take a piece of your scrapbook paper and put your sign on top of it... Flip the paper over, and begin tracing the shape of the sign.


Easy enough, don't get any pen/pencil on your sign, now!


All the hearts are traced!


Cut 'em out! I cut them a little bit inside the lines, just so I knew I wouldn't be going over the hearts.


If you have a second color, repeat the cutting process with that one. Then lay the paper on top of the hearts how you want the design to look.


And start Mod Podge-ing! Put a layer of Mod Podge onto the sign, then lay the paper over top and do another coat ontop of it... After that one dries, do another layer.


Cute, huh?


Keep going until you have all sides done! As you can see, with the smallest heart, there's a little paper going over the edge... Go ahead and sand that off, easy enough!


After you're done sanding, and whatnot... Do another coat of Mod Podge.


When using Mod Podge, I usually always take the brush in one direction, always turns out nicer!


Go ahead and paint some words on there with your darker paint... And wait for it to dry, maybe doodle some...


Then write the same words again on the back... Like I said earlier, this thing will be moving and twisting, so we want the saying to make sense no matter what!


After you're done, have your Fiance reward you with a bread bowl full of hot Chicken Pot Pie soup... Yummm... Happy life! Happy Crafting!

Saturday, March 5, 2011

Red Flowers In Her Hair


Bonnie and I went to Claire's the other day. Yes, the preteen store that sells stuffed animals, Justin Bieber merchandise (yikes!), and fake jewelry. You know what? They have the cutest hair stuff, EVER! I found an adorable flower clip... For $7. SEVEN DOLLARS. That is ridiculous! It's fabric glued onto a clip. It cost them, what, like a dollar to make ten of them? I decided I could easily make some hair things for myself... So, I set out a mission. I already have everything I need... So this project, for me, is completely free! Yay!

First off, you're gonna need:

  • Some Fabric (I used an old red shirt... Got it for $2! But it just never fit me right!)
  • Fabric Glue and/or Needle & Thread
  • Scissors
  • Hair Clips

Just as a side note... These pictures are pretty terrible. I had gone through and taken pictures originally (great shots, too!) but found out I didn't have my memory card in! Dang!


Anyways! For the first hair accessory, I made a rose. To do this, cut up the fabric into strips, and then slowly wrap them around each other. While doing this, I folded some of the strips over, and did some higher than the others. Keep adding strips until you feel like it's large enough, all the while, adding fabric glue (or sewing it)...


I ended the rose around here... It was starting to get heavy because of the fabric I had used. After you feel like you've finished, glue a small piece of fabric onto the back, this way your clip has something to hold onto.


(Sorry for the blurry picture) You can probably see the little flap I have there... It's for the clip to go into, that way you don't have to have a clip for each accessory, and you can just transfer the clips from flower to flower!


Here it is with the clip on the fabric... Also, wearing pajamas! That's how I roll.


Tiger-Lily was quite interested in it!


This is what it's like in hair! Sorry, my hair was still wet! I wouldn't suggest actually wearing them in your hair while it's wet though... Could ruin the fabric! And that would be so sad. So, anyways... I made a bow (you know how much I love bows!) and another little ribbon flower with a ric-rac rosette! I feel like the bow is pretty much self-explanatory, but I'll show you some pictures anyways!


Most bows are made with ribbons, but I decided to do mine in fabric. I used fabric glue for the edges, to straighten them out and then decided that I would sew the middle in order to bring it together...


Here it is, all gathered and what not. Add a ribbon and glue it on!


Put the clip in behind and enjoy it's adorableness!


Here's a picture of the ribbon flower, as well... I'm not a huge fan of this one, but it would be perfect for a young girl!


Thursday, March 3, 2011

Grandmother Willow! (Pine)


I’m sure it’s not very often that you sit there and think “Wow, I could really paint a slab of wood right now.  I mean, really, if I only had carving tools, wood, and paint…”  Unfortunately, that is EXACTLY how I think; therefore, I went out and bought exactly what I needed.  While I do generally encourage people to try new things, this project will probably cost about $30, so think about it first.  If you don’t want to carve out what you’re painting first, then it’ll probably only cost half of that.

What I Used:
Beginner’s carving tools (because really the last thing I need is hard-to-use-and-sharp objects)
Slab of wood (I like the one I bought because it still had a bark frame.  Using one of the pre-cute and sanded pieces of wood will knock the cost down even more, though.)
Paint (I ended up using only yellow and brown)
Paint Brushes
Pencil
Paper

Step 1:
Sketch out, on the paper, basically what you think you want to paint.  This is important, because pencil doesn’t erase easily off wood.

Step 2:
Now, pressing lightly with the pencil, sketch your drawing onto the wood.


Step 3:
Using the thin, diagonal-straight blade from the carving kit, trace your lines into the wood.  Don’t just cute the very edge, you should be leaving a line that won’t wear down into the wood quickly.  Always cut AWAY from you, too.  My art teacher and I used to head-butt about that because I carved better if I went towards my hand.  That ended after I bled all over my work THREE different times.  (I’m a slow learner.  Learn from my mistakes though: DO NOT CARVE TOWARDS YOUR OWN FLESH!)

Tip: Use multiple lines for hair or leaves, or anything like that.  It’ll had a little more detail, but it’ll still keep a sort of “abstract” look.


Step 4:
Hold the wood flat in front of your face, and blow the shavings off.  There probably won’t be too many, but you don’t want them getting caught under the paint.  Avoid doing this in the direction of someone's face.  It's painful.

Step 5:
Using the paint, begin shading.  For the regular shading I used a yellow-brown mix.  I would paint a line or blot and then drag my finger throw it to smear it.  I also did this using a dry brush, which gives it a spotted, jerked look.  I used regular brown for the darkest areas, and yellow to accent small parts.  I painted the dark brown along the outer edge and smeared it in, too, so the shaded part would really stand out.  The thing is, I didn’t cover the entire wood with paint.  See if you can leave some of the natural color peaking out!  It can be the lightest area, or if you would rather not paint the outside part, it can be the background!


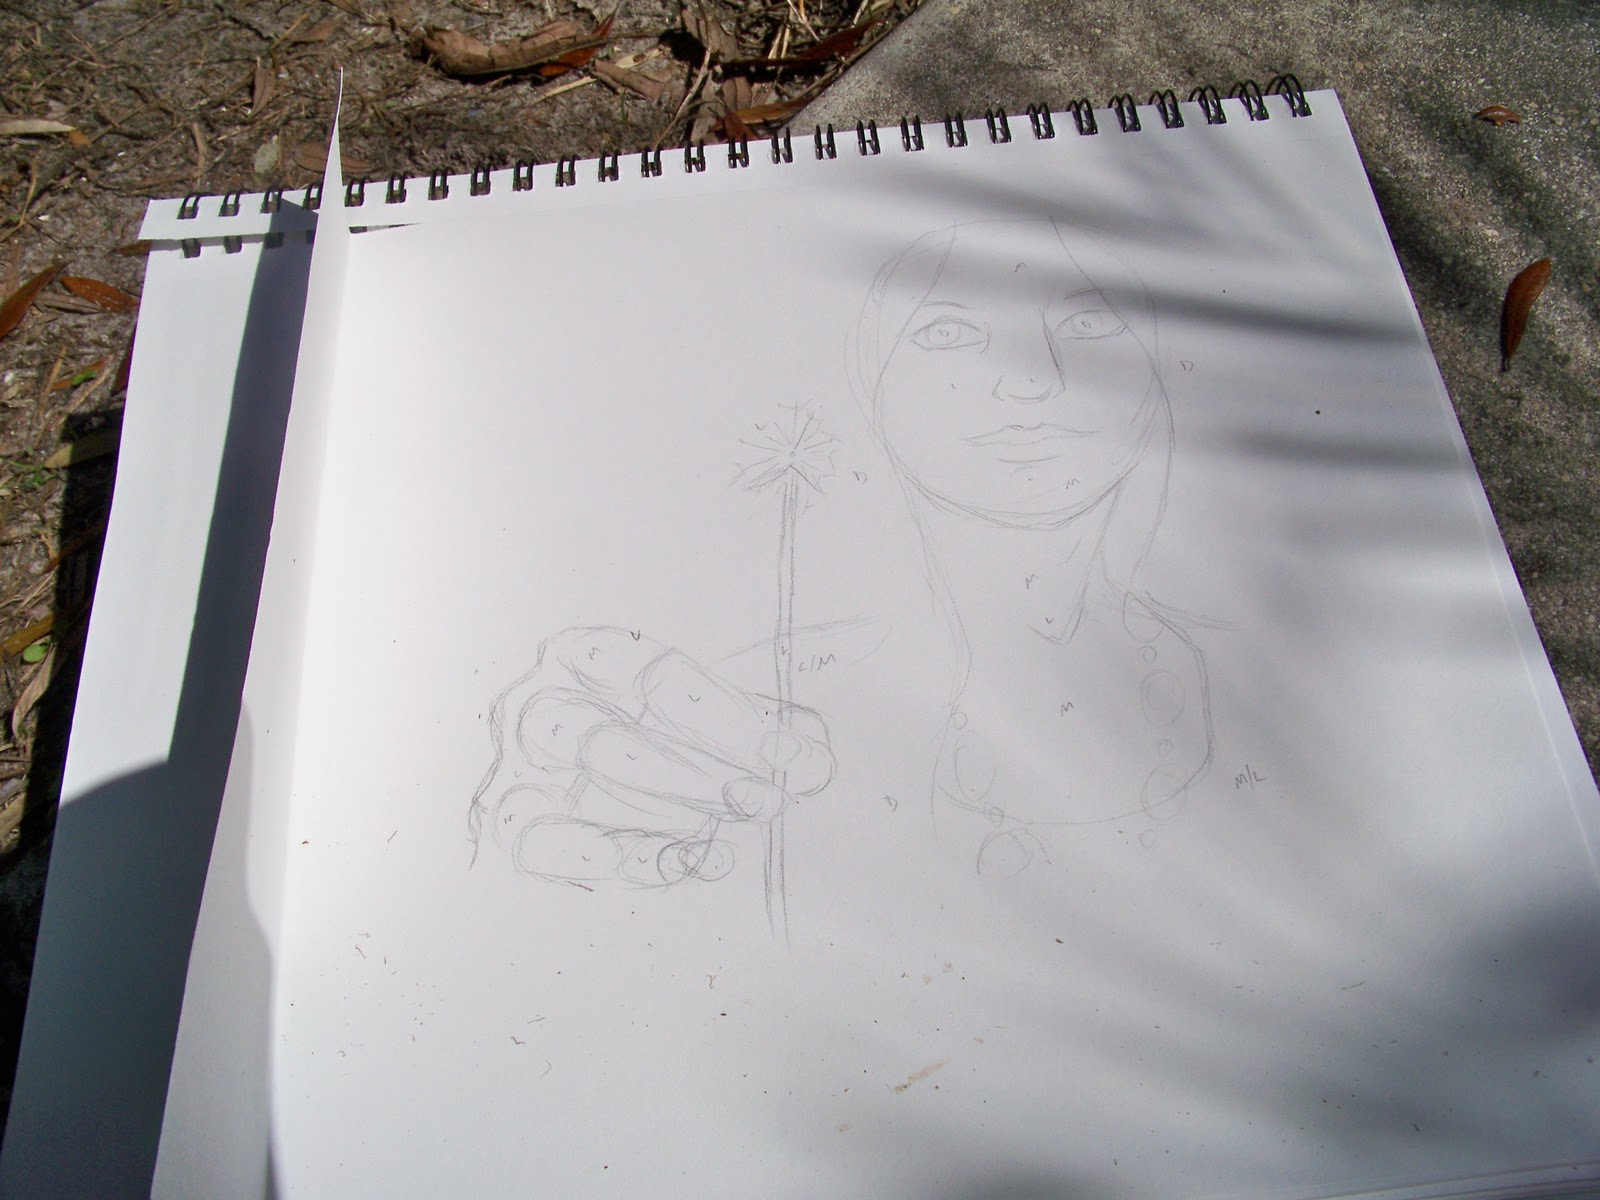
Detail: I haven’t done this yet, because I’m not home and I don’t have all my paint.  What you probably can’t tell right now is that the girl in mine is holding a dandelion.  Once I have my white paint, I’m going to trace the fluffy part with it to make it really stand out.  I’ll update this blog when I have the final product!

Enjoy your wood project :P
-Bonnie